첫 번째 장고 앱 작성하기 part 1
설문조사 앱 만들기!
- 사람들이 투표할 수 있는 개방된 사이트
- 설문을 추가, 변경, 삭제할 수 있는 관리자 사이트
가상환경 설정 및 장고 설치
$ mkdir FirstDjangoApp
$ pyenv virtualenv 3.6.4 firstapp
$ pyenv local firstapp
$ pip install django
프로젝트 만들기
$ django-admin startproject mysite
startproject에서 생성되는 것들
mysite/
    manage.py
    mysite/
        __init__.py
        settings.py
        urls.py
        wsgi.py
첫 번째 mysite의 이름을 Poll로 바꿔주고 하위의 mysite를 config로 *refactor한다.
*refactor: To rewrite existing source code in order to improve its readability
개발서버
Django project가 제대로 동작하는지 확인해보기
$ python manage.py runserver
설문조사 앱 만들기
프로젝트와 앱의 차이?
앱 : 특정한 기능을 수행하는 웹 어플리케이션
프로젝트 : 앱들과 각 설정들을 한데 묶어놓은 것
앱 생성하기
$ python manage.py startapp polls
다음과 같은 polls 디렉토리가 생성됨
polls/
    __init__.py
    admin.py
    apps.py
    migrations/
        __init__.py
    models.py
    tests.py
    views.py
첫 번째 뷰 작성하기
view.py 수정
# polls/views.py

from django.http import HttpResponse

def index(request):
	return HttpResponse("Hello, world. You're at the polls index.")
polls/urls.py 생성 및 수정
from django.urls import path

from . import views

urlpatterns = [
    path('', views.index, name='index'),
]
config/urls.py 수정(최상위 URLconf)
from django.urls import include, path
from django.contrib import admin

urlpatterns = [
    path('polls/', include('polls.urls')),
    path('admin/', admin.site.urls),
]
-
include() 함수는 다른 URLconf들을 참조할 수 있게 도와줌.
path('polls/', include('polls.urls'))구문을 해석하자면 받아온 URL에서 polls/까지만 잘라내고 그 이하의 남은 문자열은 polls.urls에서 처리하도록 하는 것! -
path() 함수는 2개의 필수 인수 route와 view와 2개의 선택 가능 인수 kwargs, name가 전달됨.
- route : URL 패턴을 가진 문자열
- view : 일치하는 URL패턴을 찾으면 HttpRequest객체를 첫번째 인수로 하고, 경로로 부터 캡쳐된 값을 키워드 인수로하여 특정한 view함수를 호출함
- kwargs : 목표한 view에 사전형으로 전달
- name : URL에 이름을 지으면 템플릿을 포함한 어디에나 명확하게 참조가능
첫 번째 장고 앱 작성하기 part 2
데이터베이스 설치
setting.py
config/setting.py 파일은 Django 설정을 모듈 변수로 표현한 파이썬 모듈이다.
여기서 데이터 베이스에 맞게 설정을 해주어야함. 기본적으로 데이터베이스는 SQLite을 사용하도록 구성(가장 간단한 방법, 파이썬에서 기본제공)
INSTALLED_APPS 설명 (Django 인스턴스에서 활성화된 모든 Django앱이 담겨있음)
- django.contrib.admin – 관리용 사이트, 곧 사용하게 될겁니다.
- django.contrib.auth – 인증 시스템.
- django.contrib.contenttypes – 컨텐츠 타입을 위한 프레임워크.
- django.contrib.sessions – 세션 프레임워크.
- django.contrib.messages – 메세징 프레임워크.
- django.contrib.staticfiles – 정적 파일을 관리하는 프레임워크.
이러한 몇몇의 어플리케이션은 최소한 하나 이상의 데이터베이스 테이블을 사용하는데 테이블을 만들어주어야함! 다음과 같이 실행
$ python manage.py migrate
migrate는 1. mysite/setting.py의 데이터베이스 설정, 2. app, 3. 데이터베이스 migrations에 따라 필요한 데이터베이스 테이블을 생성함.
모델 만들기
부가적인 메타데이터를 가진 데이터베이스의 구조를(layout)
Question과 Choice 모델 만들기
polls/model.py 파일 수정
from django.db import models


class Question(models.Model):
    question_text = models.CharField(max_length=200)
    pub_date = models.DateTimeField('date published')


class Choice(models.Model):
    question = models.ForeignKey(Question, on_delete=models.CASCADE)
    choice_text = models.CharField(max_length=200)
    votes = models.IntegerField(default=0)
각 모델은 models.Model의 서브클래스, 각각의 클래스 변수들은 모델의 데이터베이스 필드를 나타냄. 데이터베이스의 각 필드는 Field클래스의 인스턴스로 표현됨.
모델의 활성화
위에서 만든 모델로 할 수 있는 것
- 이 app에 대한 데이터베이스 스키마 생성
- Question과 Choice객체에 접근하기 위한 Python 데이터베이스 접근 API를 생성
그러려면, app을 INSTALLED_APPS 설정에 추가시켜야함. 그 다음에 makemigratioins
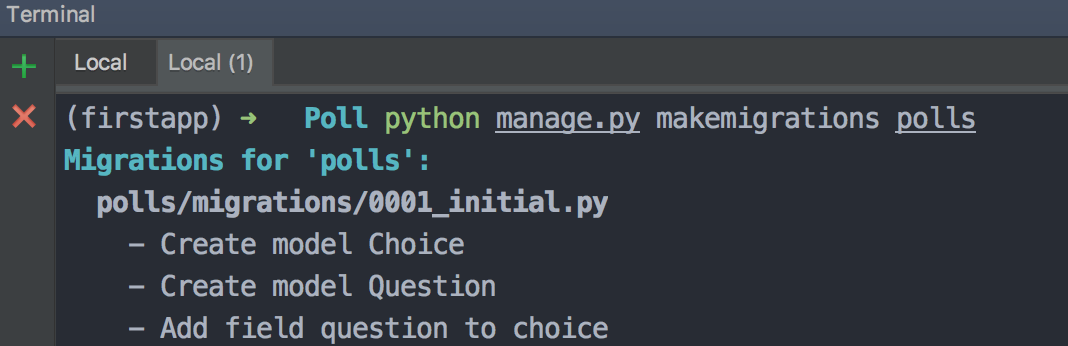
$ python manage.py makemigrations polls
모델의 변경을 적용하고 이 변경을 migration으로 저장함
migration은 Django가 모델의 변경사항을 저장하는 방법으로 0001_initial.py 형태로 저장됨.
데이터베이스에 모델과 관련된 테이블을 생성하기 위해 migrate실행
$ python manage.py migrate
migrate명령은 아직 적용되지 않은 모든 migration들을 수집하여 이를 실행함.
$ python manage.py showmigrations
migrations들을 보여줌
$ python manage.py migrate polls 006
migration적용을 컨트롤 할 수도 있다
모델의 변경을 만드는 세단계
- model.py에서 모델 변경
- makemigrations으로 변경사항에 대한 migration만들기
- migrate로 데이터베이스 생성 및 적용
참고할 점!
- 테이블 이름은 app 의 이름과 모델의 이름(소문자)이 조합되어 자동으로 생성됩니다. 이 경우, 앱의 이름인 polls 와 소문자로 표기된 모델의 이름인 question 과 choice 가 합쳐집니다. 이 동작을 재지정(override) 하여 수정할 수 있습니다.)
- 기본 키(Primary, ID) 는 자동으로 추가됩니다. (역시 이 동작도 재지정(override) 할 수 있습니다.)
- 관례에 따라, Django 는 외래 키(foreign key) 필드명에 “_id” 이름을 자동으로 추가합니다. (물론 이것도 재지정 할 수 있습니다.)
API 가지고 놀기
iPython을 깔고 Python 쉘에서 API를 이용해보기
$ pip install ipython
$ python manage.py shell
>>> from polls.models import Question, Choice   # Import the model classes we just wrote.

# No questions are in the system yet.
>>> Question.objects.all()
<QuerySet []>

>>> from django.utils import timezone
>>> q = Question(question_text="What's new?", pub_date=timezone.now())

>>> q.save()
# save를 해야 데이터베이스에 적용됨
# Now it has an ID.
>>> q.id
1

# Access model field values via Python attributes.
>>> q.question_text
"What's new?"
>>> q.pub_date
datetime.datetime(2012, 2, 26, 13, 0, 0, 775217, tzinfo=<UTC>)
>>> q.save()

>>> Question.objects.all()
<QuerySet [<Question: Question object (1)>]>
__str__()메소드로 객체 표현하기
Question.objects.all() 명령어를 입력했을 때 나오는 <Question: Question object (1)> 을 바꾸기 위해서 __str__() 메소드를 추가해봄
터미널에서 편하게 보려는 이유 뿐만 아니라 관리사이트에서 객체의 표현으로 보기 위해서
from django.db import models

class Question(models.Model):
    # ...
    def __str__(self):
        return self.question_text

class Choice(models.Model):
    # ...
    def __str__(self):
        return self.choice_text
was_published_recently 메소드 추가
import datetime

from django.db import models
from django.utils import timezone


class Question(models.Model):
    # ...
    def was_published_recently(self):
        return self.pub_date >= timezone.now() - datetime.timedelta(days=1)
쉘 다시 실행해서 갖고놀기
>>> from polls.models import Question, Choice

>>> Question.objects.all()
<QuerySet [<Question: What's up?>]>

>>> Question.objects.filter(id=1)
<QuerySet [<Question: What's up?>]>
>>> Question.objects.filter(question_text__startswith='What')
<QuerySet [<Question: What's up?>]>

# filter를 쓰면 쿼리셋이 나오고, get을 쓰면 객체를 불러옴

# Get the question that was published this year.
>>> from django.utils import timezone
>>> current_year = timezone.now().year
>>> Question.objects.get(pub_date__year=current_year)
<Question: What's up?>

>>> Question.objects.get(pk=1)
<Question: What's up?>

# Make sure our custom method worked.
>>> q = Question.objects.get(pk=1)
>>> q.was_published_recently()
True
>>> q = Question.objects.get(pk=1)

# Display any choices from the related object set -- none so far.
>>> q.choice_set.all()
<QuerySet []>

# Create three choices.
>>> q.choice_set.create(choice_text='Not much', votes=0)
<Choice: Not much>
>>> q.choice_set.create(choice_text='The sky', votes=0)
<Choice: The sky>
>>> c = q.choice_set.create(choice_text='Just hacking again', votes=0)

# Choice objects have API access to their related Question objects.
>>> c.question
<Question: What's up?>

# And vice versa: Question objects get access to Choice objects.
>>> q.choice_set.all()
<QuerySet [<Choice: Not much>, <Choice: The sky>, <Choice: Just hacking again>]>
>>> q.choice_set.count()
3


>>> Choice.objects.filter(question__pub_date__year=current_year)
<QuerySet [<Choice: Not much>, <Choice: The sky>, <Choice: Just hacking again>]>

# Let's delete one of the choices. Use delete() for that.
>>> c = q.choice_set.filter(choice_text__startswith='Just hacking')
>>> c.delete()
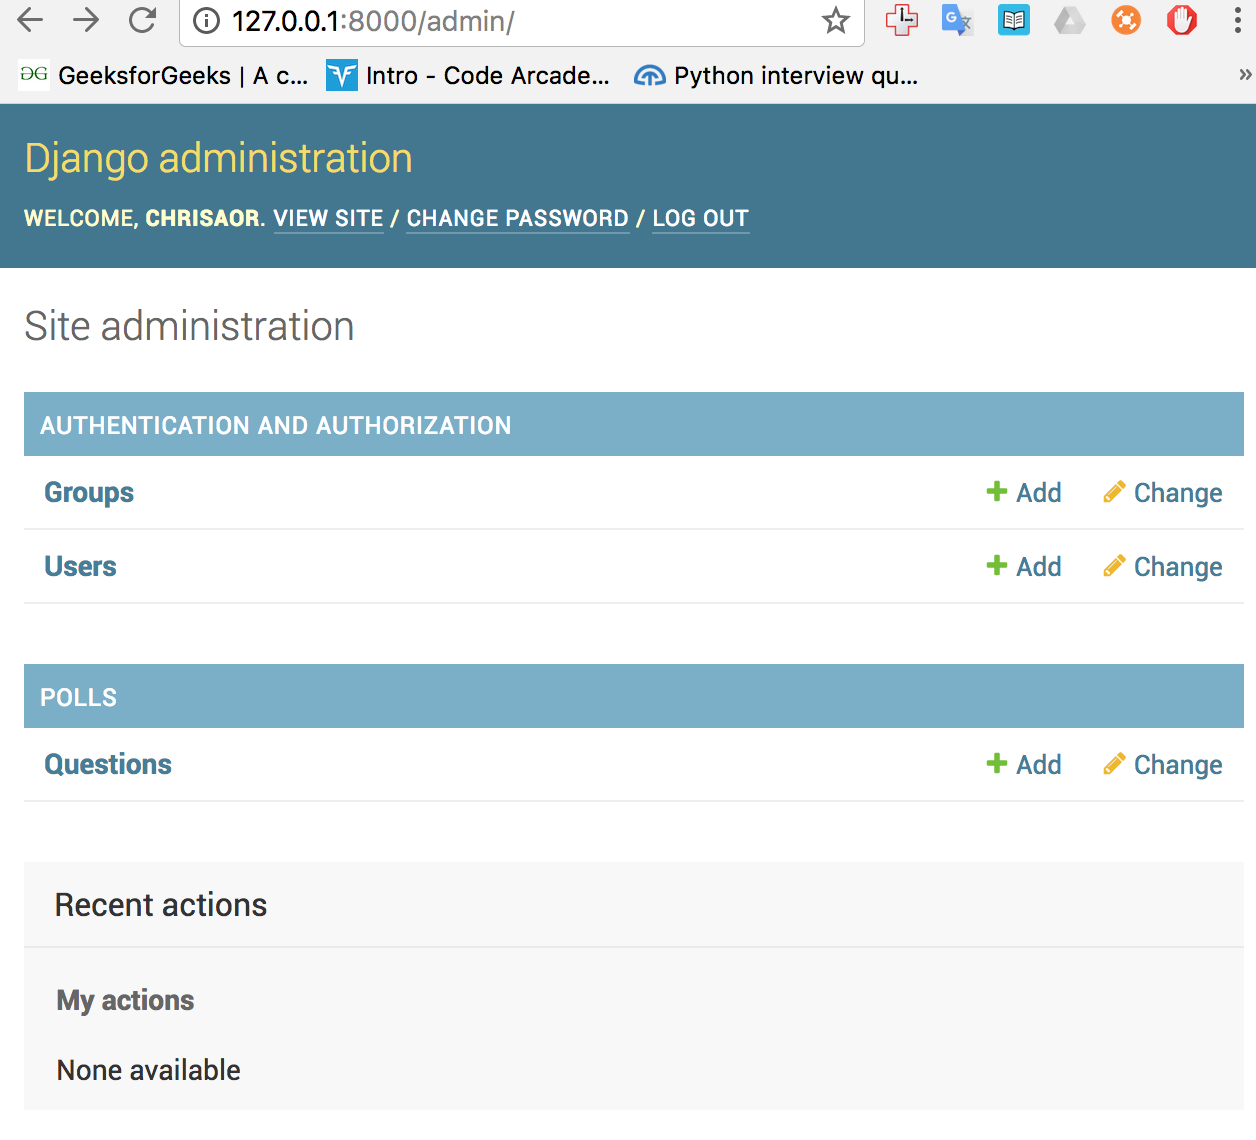
관리자 생성하기
$ python manage.py createsuperuser
관리사이트에서 poll app을 변경가능하도록 만들기
from django.contrib import admin

from .models import Question

admin.site.register(Question)
127.0.0.1:8000/admin 사이트 접속해보기
첫 번째 장고 앱 작성하기 part 3
조금 더 view 작성하기
polls/views.py 수정
def detail(request, question_id):
    return HttpResponse("You're looking at question %s." % question_id)

def results(request, question_id):
    response = "You're looking at the results of question %s."
    return HttpResponse(response % question_id)

def vote(request, question_id):
    return HttpResponse("You're voting on question %s." % question_id)
polls/urls.py 수정
from django.urls import path

from . import views

urlpatterns = [
    # ex: /polls/
    path('', views.index, name='index'),
    # ex: /polls/5/
    path('<int:question_id>/', views.detail, name='detail'),
    # ex: /polls/5/results/
    path('<int:question_id>/results/', views.results, name='results'),
    # ex: /polls/5/vote/
    path('<int:question_id>/vote/', views.vote, name='vote'),
]
정규표현식으로 쓰면 다음와 같다!
urlpatterns = [
    # ex: /polls/
    path('', views.index, name='index'),
    # ex: /polls/5/
    re_path(r'(?P<question_id>\d+)/$', views.detail, name='detail'),
    # ex: /polls/5/results/
    re_path(r'(?P<question_id>\d+/results/', views.results, name='results'),
    # ex: /polls/5/vote/
    re_path(r'<?Pquestion_id>\d+/vote/', views.vote, name='vote'),
]
view가 실제로 뭔가 하도록 만들기
view는 HttpResponse 객체를 반환하거나, Http404같은 예외를 발생해야함(모든 Django는 둘 중에 하나를 원하기 때문 -> 그렇게 다루는게 편하다) 또 view는 데이터베이스의 레코드도 읽을 수 있고 Django나 Python에서 third party로 제공되는 템플릿 시스템을 사용할 수도 있다.
from django.http import HttpResponse

from .models import Question


def index(request):
    latest_question_list = Question.objects.order_by('-pub_date')[:5]
    output = ', '.join([q.question_text for q in latest_question_list])
    return HttpResponse(output)
Template 시스템 사용하기
<h1>{{ question.question_text }}</h1>
<ul>
{% for choice in question.choice_set.all %}

    <li>{{ choice.choice_text }}</li>
{% endfor %}
</ul>
Template에서 하드코딩된 URL 제거학
index.html에서 다음과 같은 내용을
<li><a href="/polls/{{ question.id }}/">{{ question.question_text }}</a></li>
이렇게 바꿔주면 된다.
polls.urls모듈의 path()함수에서 정한 인수의 이름으로 바꾸면 의존성을 제거할 수 있다.
<li><a href="{% url 'detail' question.id %}">{{ question.question_text }}</a></li>
URL의 이름공간(namespace) 나누기
다음과 같이 urlpatterns에 앱 이름을 추가함으로써 다른 앱과의 URL pattern을 구분할 수 있다. 실제 장고 프로젝트는 여러 앱을 사용할 수 있으므로 구분이 필요하다.
app_name = 'polls'
urlpatterns = [
    path('', views.index, name='index'),
    path('<int:question_id>/', views.detail, name='detail'),
    path('<int:question_id>/results/', views.results, name='results'),
    path('<int:question_id>/vote/', views.vote, name='vote'),
]
위에서 바꿨던 내용을
<li><a href="{% url 'detail' question.id %}">{{ question.question_text }}</a></li>
다시 이렇게 바꿀 수 있다.
<li><a href="{% url 'polls:detail' question.id %}">{{ question.question_text }}</a></li>
첫 번째 장고 앱 작성하기 part 4
간단한 폼 만들기
폼(양식, forms)으로 웹사이트의 강력한 인터페이스를 만들 수 있다
POST 폼 : 자료를 수정하는 효과를 가짐
Comments